
Notification
Whenever the robot encounters a unforseen situation it will try to recover and resolve the issue automatically.
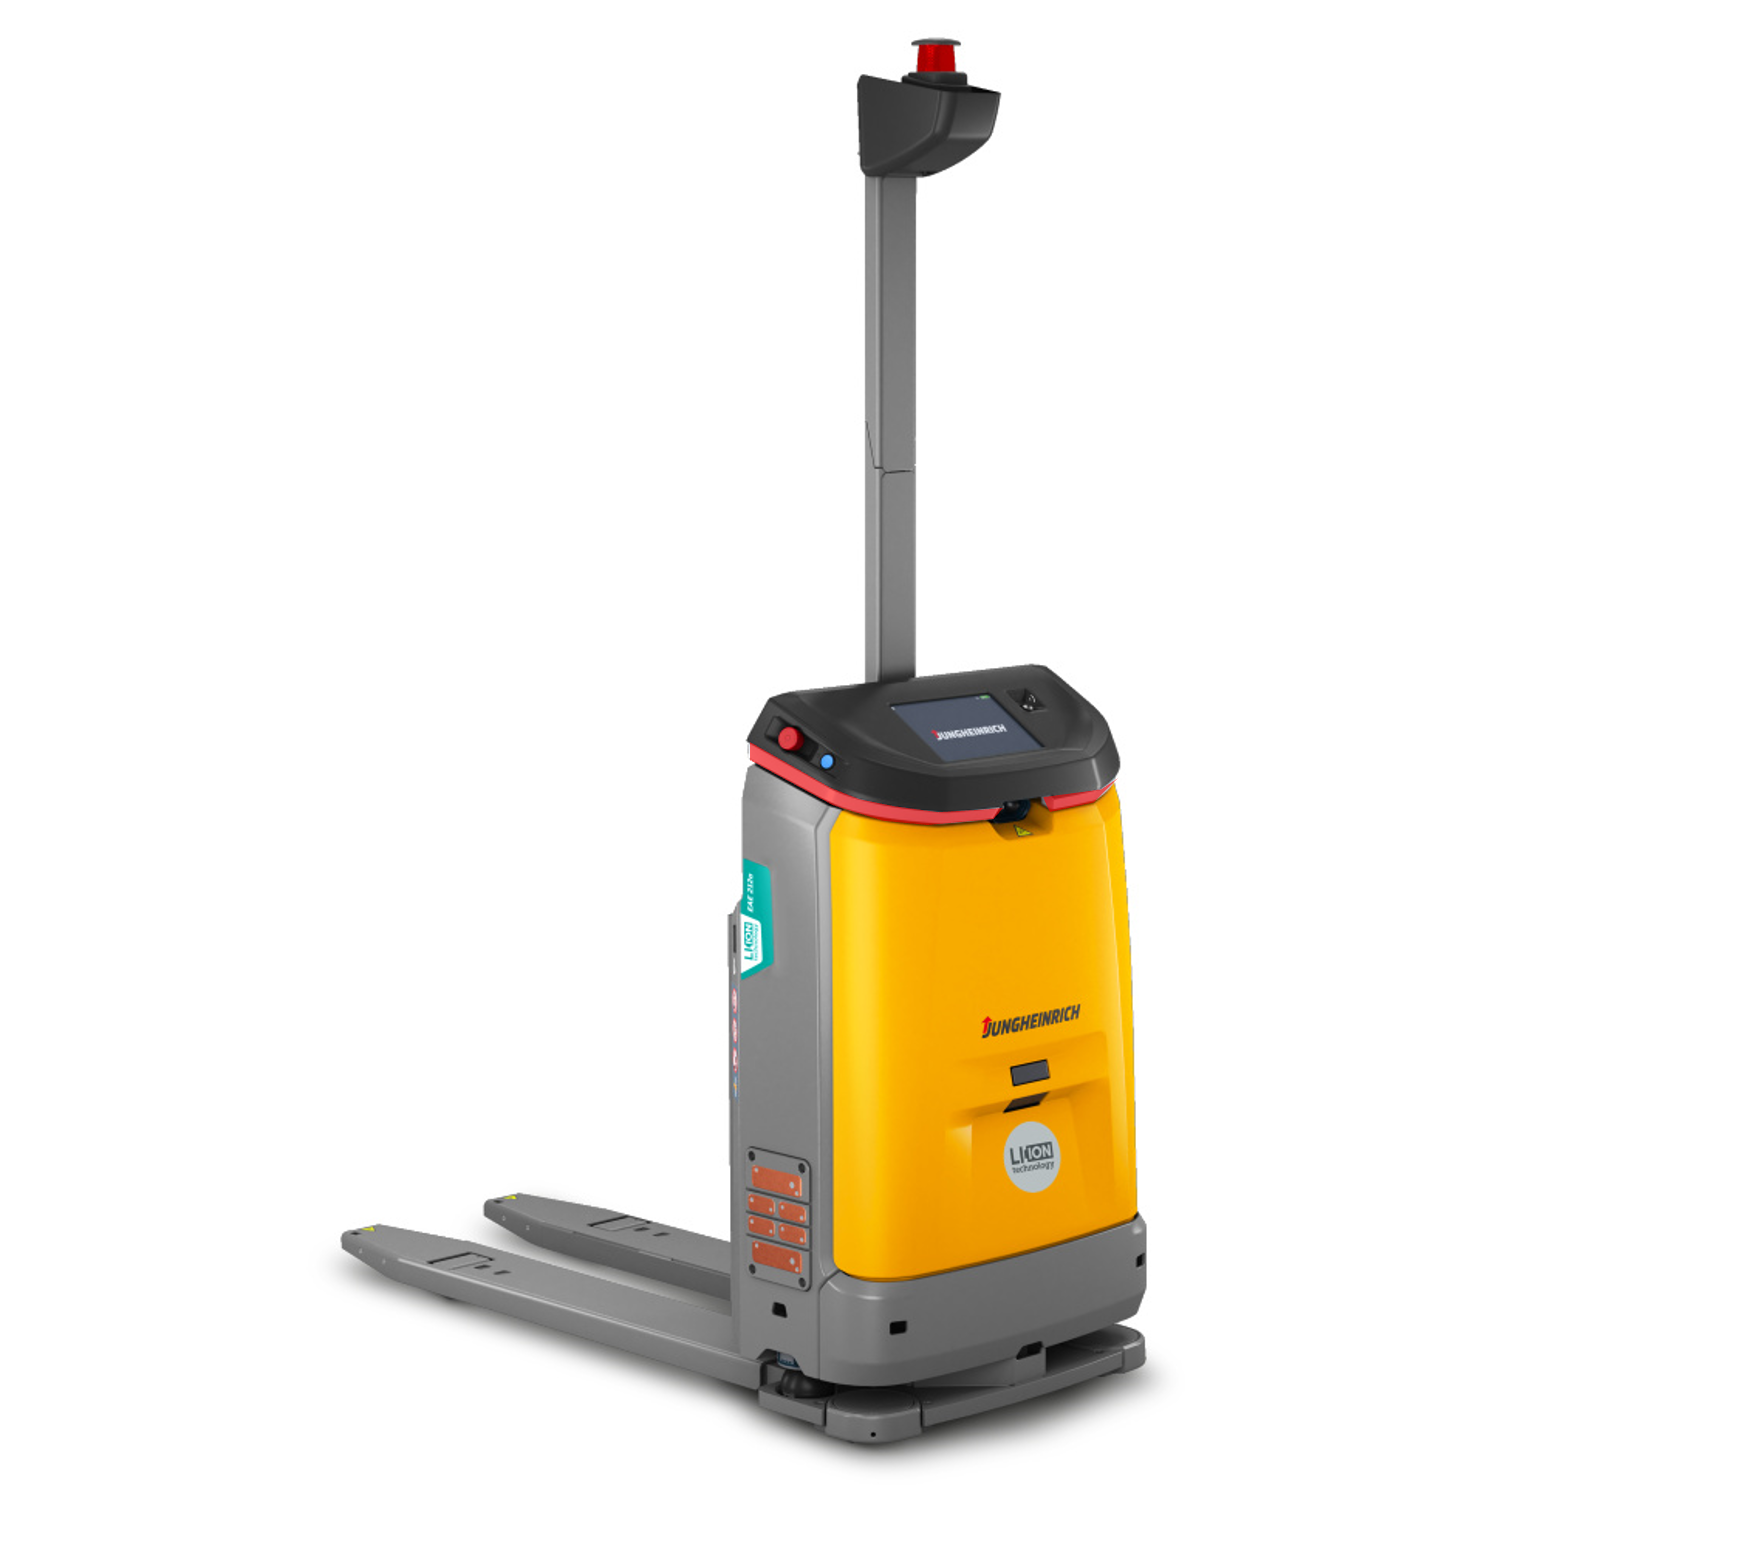
If the robot is unable to recover and manual intervention is required the robot indicates this by red constant or pulsating LEDs.
A robot with red LEDs requires manual intervention. If you see a robot in error state please recover the robot or notify responsible personell.
Tutorials
In error state the robot always shows the error message on the display.
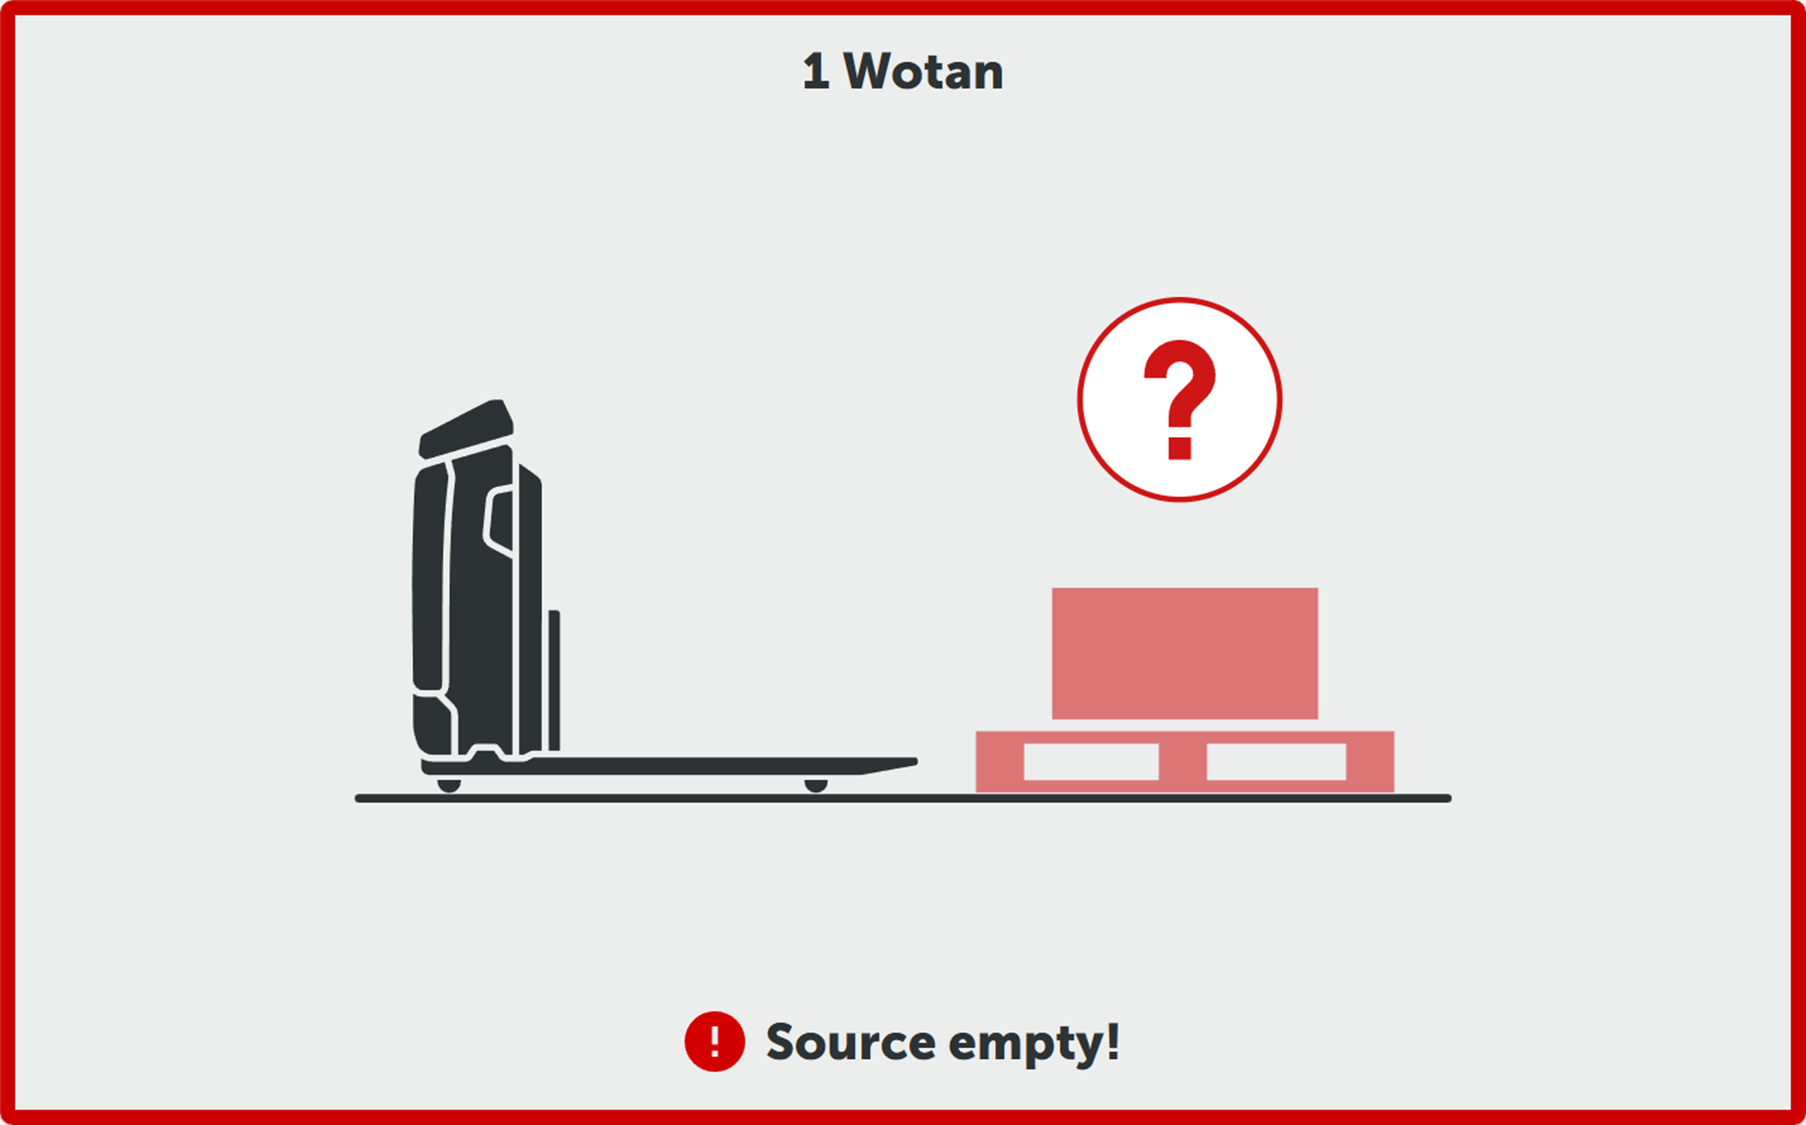
Every error is also always accessible via the header bar.

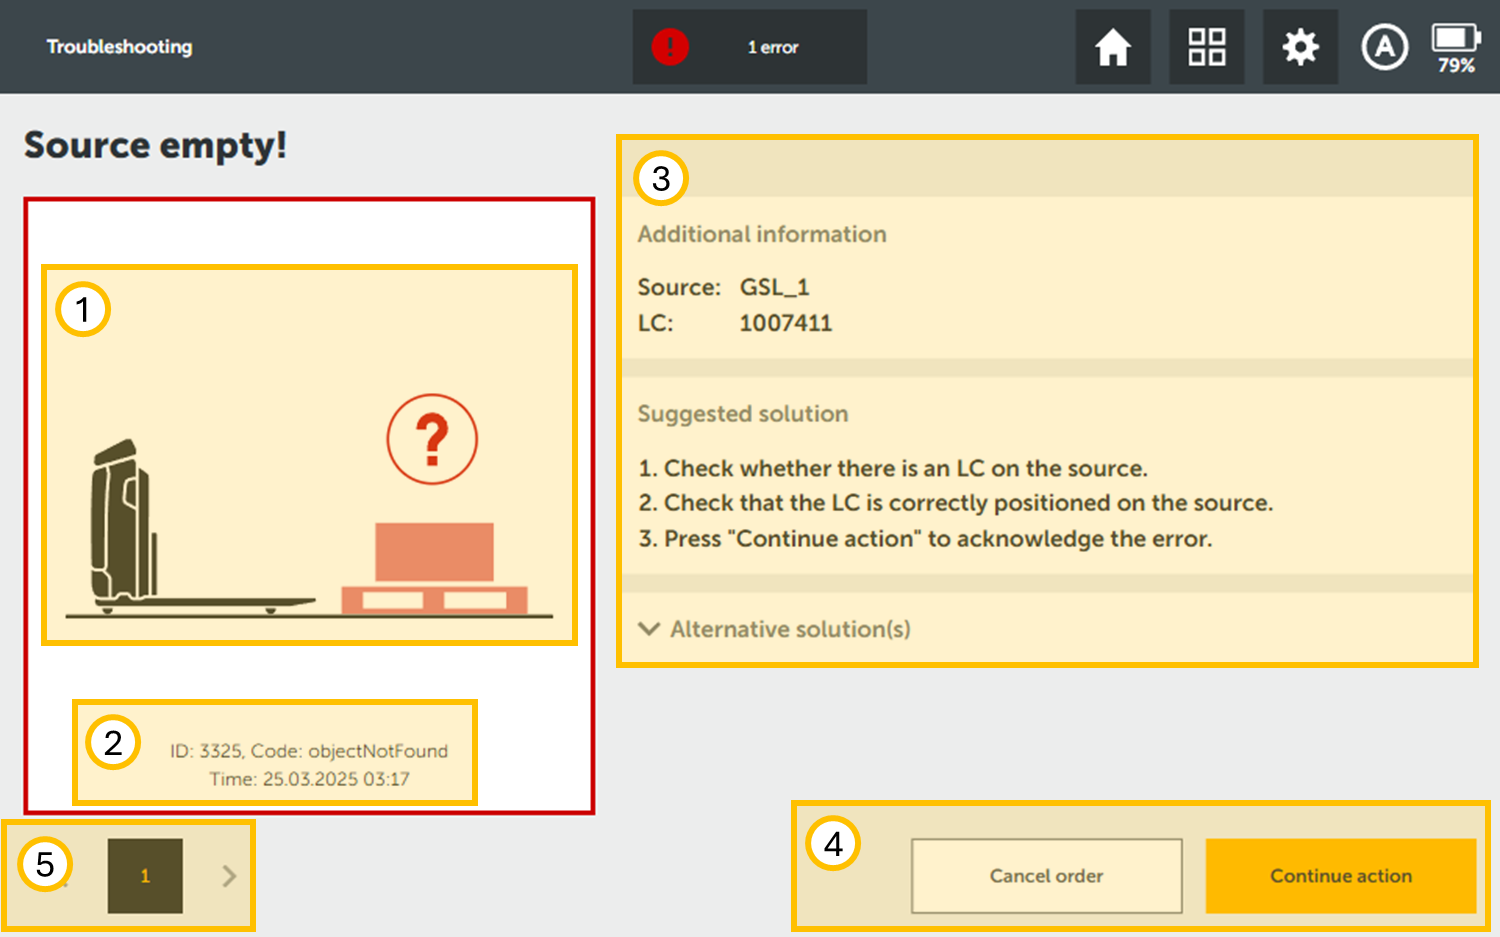
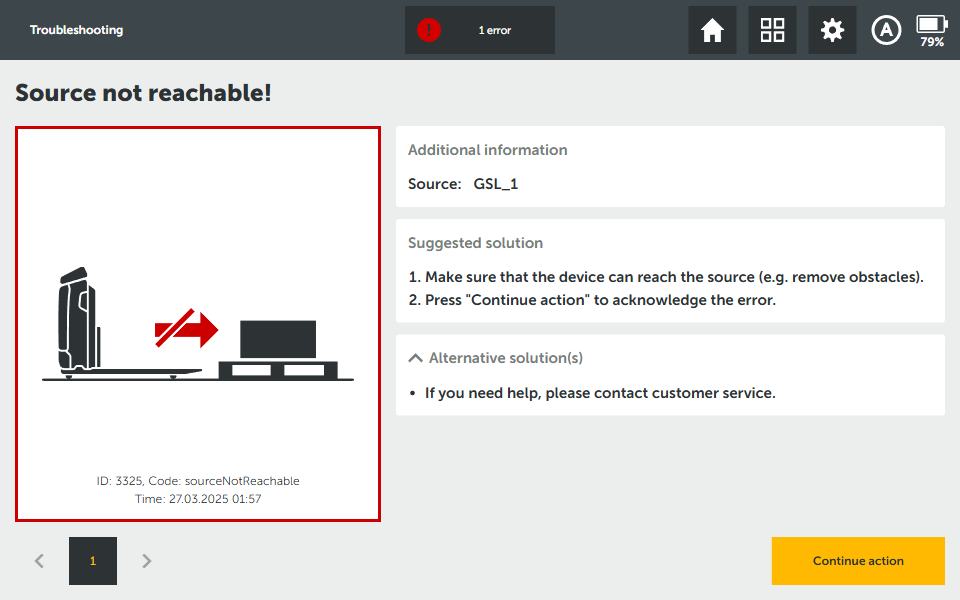
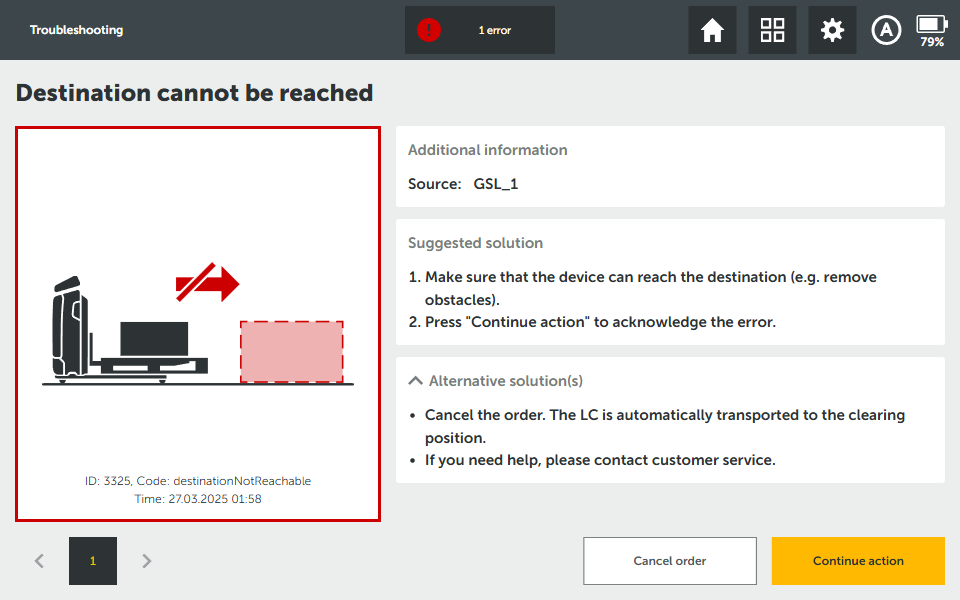
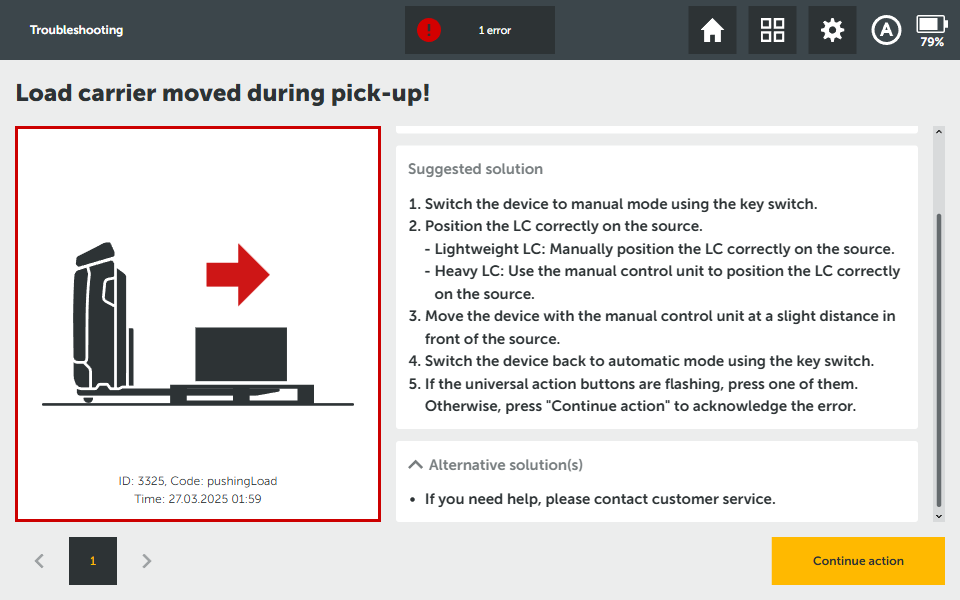
Open an error to access the error tutorial. Each error tutorial is built up in the same way:
|
# |
Name |
Description |
|---|---|---|
|
1 |
Graphic |
Graphic representation of the error. |
|
2 |
Error identifier |
Error ID, error code and timestamp of the error - please provide this information to the Support if required. |
|
3 |
Information |
Error specific information and recovery instructions. Please follow the information displayed here to recover the robot from the error. |
|
4 |
Recovery options |
Select the correct recovery option based on the situation to recover from the error. |
|
5 |
Error toggle |
Toggle between multiple errors present at the same time. |
Please follow the instructions on the tutorial to recover from the error.
Error recovery options
Some recovery options are only available in automatic or manual mode. If a recovery option button is greyed out please switch the mode with the key switch.
Warnings
Warnings can be identified by the yellow triangle warning symbol instead of the red circular error symbol.

In case of a warning there is no need to take any action on the HMI. Simply resolve the error and the robot will continue its operation automatically.
Continue Action (Acknowlege)
Resolve the situation and select Continue Action to acknowledge an error. The robot will attempt to continue its operation and retry the action.
Some error tutorials require you to move the robot manually to resolve the situation. Switch back to automatic to acknowledge the error afterwards.
Depending on error origin (safety-critical errors, basetruck errors) the universal button might need to be pressed. This is indicated by blinking universal button LEDs.
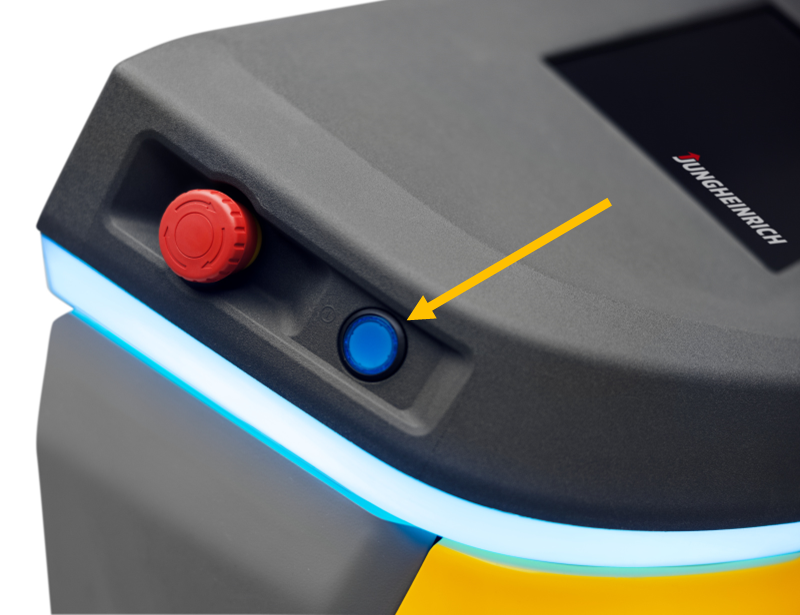
The universal button has to be pressed for at least 500ms to acknowledge an error.
Cancel order
When a transport job is active, the tutorial offers a Cancel Order option. Select Cancel Order and the robot will cancel its current transport job.
If the robot has already the load carrier onto the forks, the server will then reassign a new transport job to remove the load carrier from the forks (i.e. automatic transport to clearing station).
Remove LC
When a transport job is active and the robot already has lifted the load carrier onto the forks, the tutorial offers a Remove LC (Load carrier) option. Select Remove LC to delete the load carrier from the system and cancel the associated order.
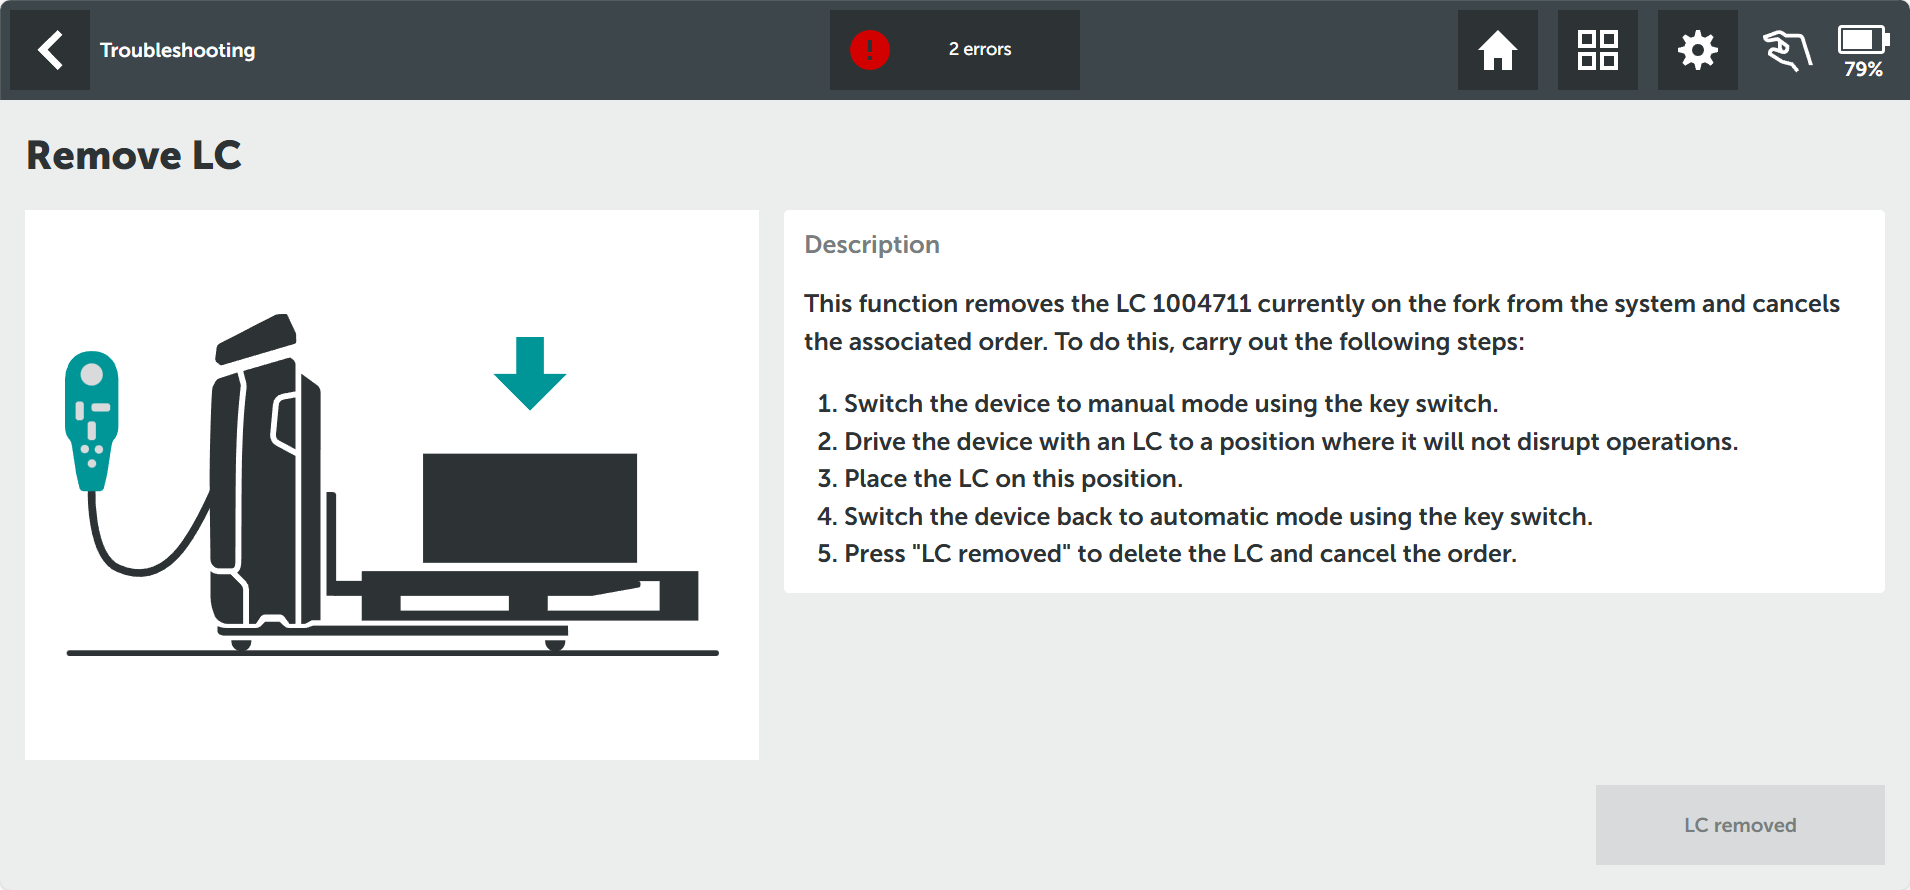
Follow the accompanying tutorial to remove the load carrier from the robot in manual mode. The user is responsible to further transport the load carrier to its target destination and manually book the transport in the WMS.
Warning
The recovery option Remove LC deletes the transport and the load carrier from the system database. At this stage the load carrier status is unknown to the system and there will be no further automatic transport issued for this load carrier as long as this is the case. The user has to make sure that the transport is completed manually and booked in WMS.
Moving the robot manually
Many error recoveries require the robot to be moved manually.
Switch to manual
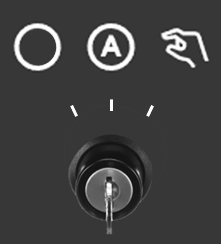
Modes can be switched via the key switch.
The key switch offers three positions:
|
Off The robot is turned off. |
|
Automatic mode The robot is in automatic mode. The robot is connected to the server and receives and executes transport jobs automatically. |
|
|
Manual mode The robot is in manual mode. The robot does not receive transport jobs from the server and can be moved manually using the remote. |
The operating mode of the robot is also indicated in the HMI header bar:

|

|
In manual mode the robot aborts active transport jobs. However, if the state of the load carrier does not change during manual operation the server will re-assign and complete the transport automatically after switching back to automatic mode.
Moving the robot using the remote
In order to move the robot in manual mode the remote is required. The remote is located in the storage compartment unter the HMI of the robot.
Use the remote to maneuver the robot.
Danger
Safety fields are deactivated in manual mode. The robot can collide with persons and obstacles.
|
|
|
Emergency stop |
|
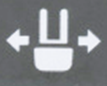
Steering Control the steering angle of the robot. |
|

|
Lift Control the hydraulic lift of the robot to pick-up or put-down load carriers manually. |
|

|
Driving Control the velocity of the robot to drive in load or drive direction. |
|

|
Enabling button Enable manual control. |
In order to be able to drive the enabling button has to be pressed constantly. The enabling switch is fitted with a deadman switch as well as panic release functionality. This means the button has to be held in the middle position while the robot drives. If the button is released or pressed through the robot will stop immediately.
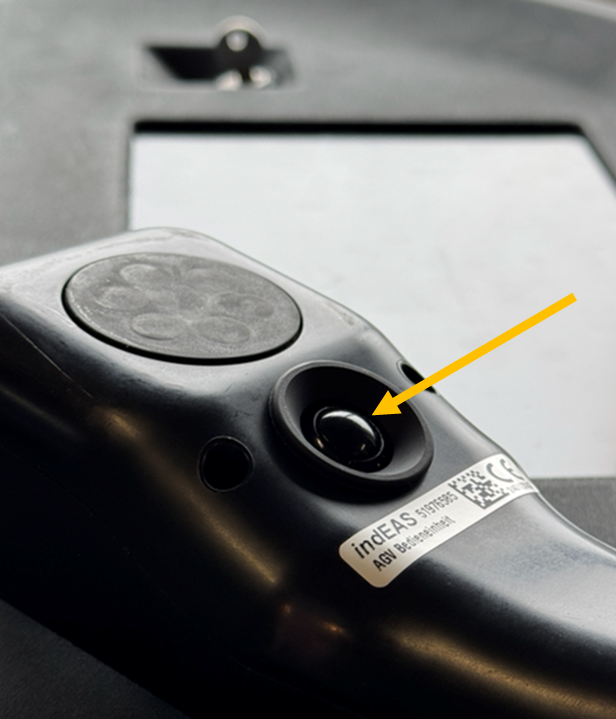
For better ergonomics there is also a second Enabling button located on the backside of the remote.
After moving the robot please put the remote back into the storage compartment.
If you plan to continue using the remote it can also be attached to the robot housing using the integrated magnet grip.
Switch to automatic
Use the key switch to switch back to automatic operating mode.
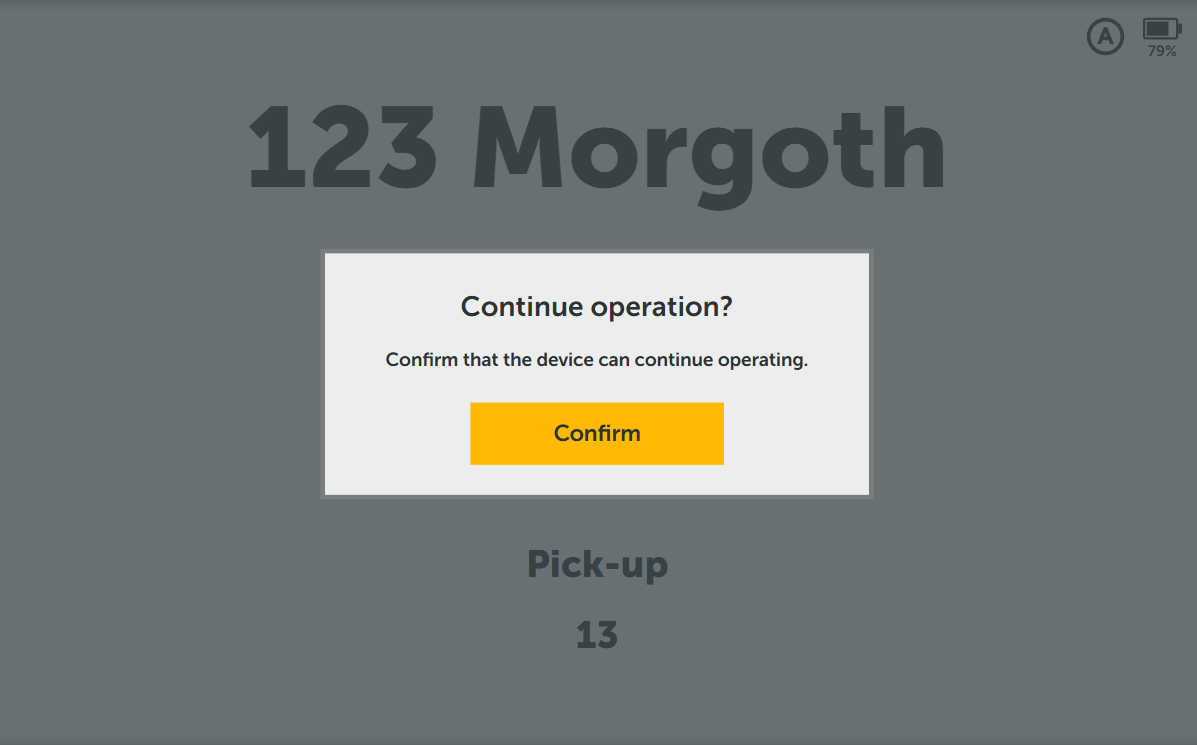
Confirm the Permission to move dialog on the robot HMI so that the robot can restart automatic operation.
Examples
Some typical errors encountered in live operation could be:
|
Error |
Tutorial |
Troubleshooting |
|---|---|---|
|
Source empty! |
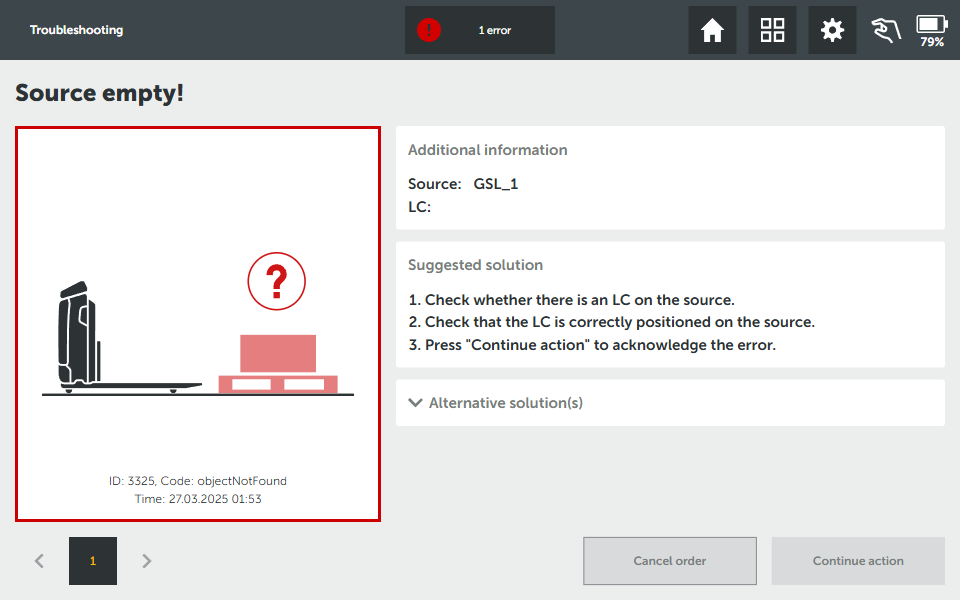
|
|
|
Destination occupied! |
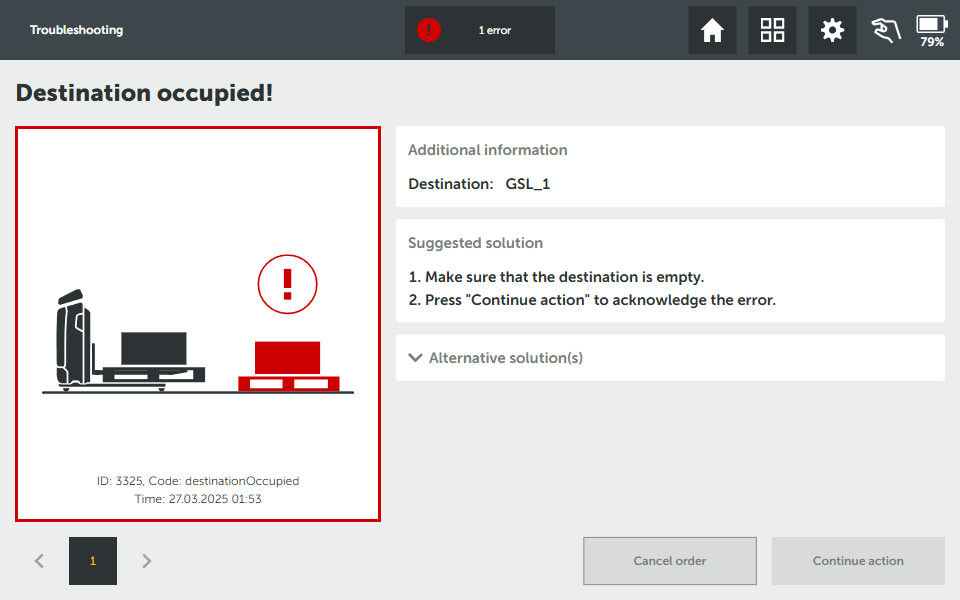
|
|
|
Navigation failed! (Warning) |
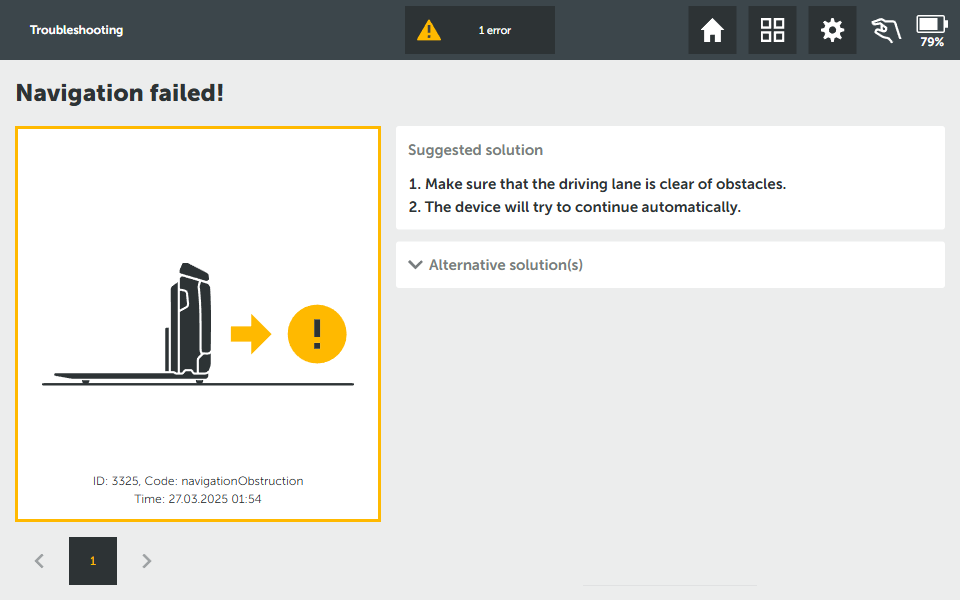
|
|
|
Source not reachable! |
|
|
|
Destination cannot be reached! |
|
|
|
Load carrier moved during pick-up! |
|
|
Special errors
Recover Localization (Re-Initialisation)
The robot navigates based on contour detection of its surroundings with the top laser scanner which it compares to the recorded map. If the robot robot recognizes the contours of its surroundings it localises itself in the space (i.e. the robot knows its position). Reasons for the robot to loose localisation could be:
-
The robot has been driven outside its mapped working area and does not recognize its surroundings.
-
The robot has been moved manually while being turned off.
-
Incorrect version of the environment which does not match the surroundings of the robot.
In case the robot has lost its localisation the robot will show the Device position unknown tutorial.
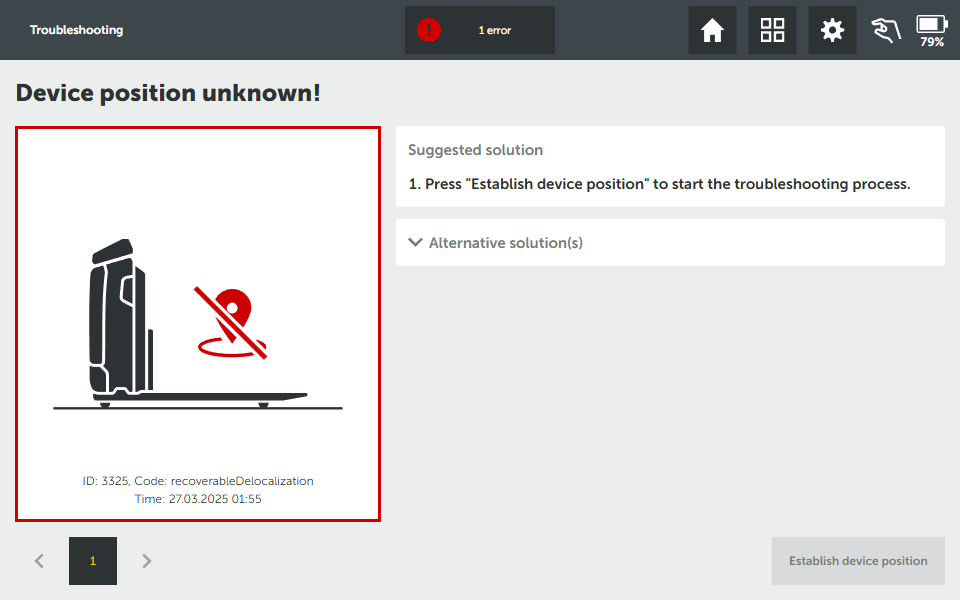
Select Establish device position to recover from the error. The robot will display the Restore localisation dialog:
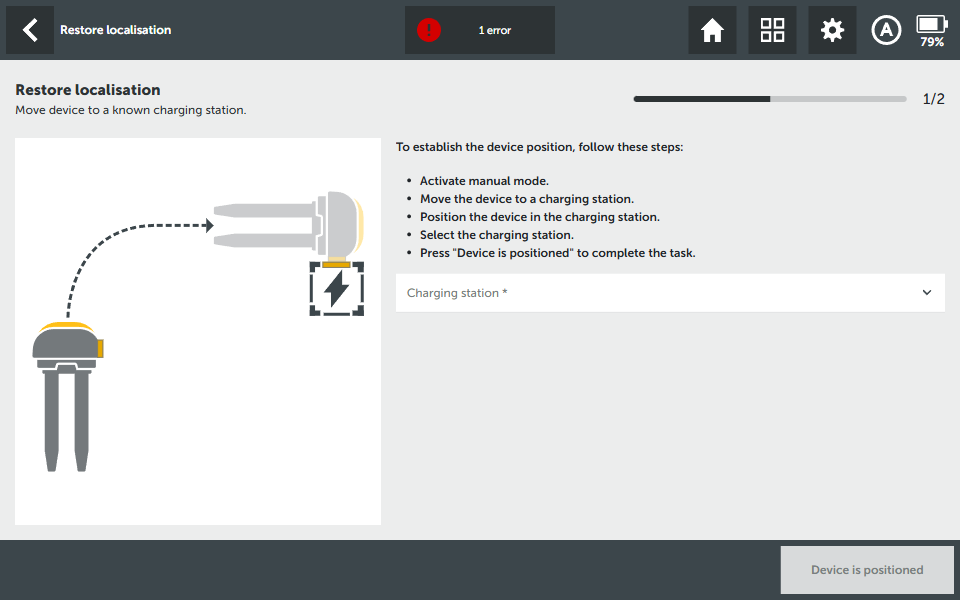
To restore localisation the robot has to be manually moved to a modelled charger within the working area of the robot. Position the robot in a short distance from the charger with the carging contact pointing at each other. The charging contacts should not have contact to each other.
Select the correct charging station in the drop down menu and confirm Device is positioned. The robot will automatically detect the charging station with its laser scanners and thereby re-establish its position within the environment.
Errors without specific tutorials
Unknown errors
Errors that have not been mapped to a specific tutorials will show a generic Unknown error tutorial.
Internal errors
Internal software errors will show a generic Internal error tutorial.
Basetruck errors
Basetruck errors will show a generic Basetruck error tutorial highlighting the respective error codes. Basetruck errros are also highlighted by a blinking universal button LED.
In order to resolve basetruck errors the universal button has to be pressed in most cases.
No errors
Any error not covered by any of these categories will be shown by red LEDs only.
Recovery options
In order to recover from these errors a restart of the software might be required. There are two possible restart options:
-
Basetruck powercycle
Turn the key switch to the Off position and wait for approximately 10 seconds before turning the robot back on again. The HMI will stay active during this time. -
Restart robot
Turn the key switch to the Off position and wait until the HMI has turned off (approximately 60 seconds). Then turn the robot back on again.